You might be surprised at the answer
Introduction
(check this article out on the new blog at www.sagelightblog.com)
An interesting topic came up on the discussion board (here) that I thought I’d write about. It’s regarding the issue of working with JPEG vs RAW when it comes to dark (or otherwise hard-to-deal with images).
Or, for that matter, working with JPEG vs. RAW on a general basis.
There’s a lot of thought out there about working with RAW. Sagelight supports RAW and, for the record, you’re definitely able to get a better image out of RAW.
Having said, that, though, I don’t think it is always the right approach or necessary for everyone. I’ll go even further to say that I don’t think that most people – including myself – will ever get more out of RAW from most pictures than they would out of Jpeg.
In fact, I will go even further(er) to say that editing in RAW (again, for most people) will sometimes get a you an image that isn’t as good as the one you started with — this is because when you edit with RAW you sometimes need more expertise that the JPEG has helped you to avoid.
Editing with RAW – The Technical Approach
Before I go too far and get misunderstood, I want to reiterate that, from a technical perspective, RAW is the best way to go, and Sagelight has a lot of devoted functionality for RAW, and quite a lot of technology has gone into Sagelight 4.0 to support RAW. More technology is currently being built into Sagelight to further RAW support.
I’m basically separating the practical from the technical. From a technical perspective, RAW will always be more useful and able to generate better results than using a JPEG.
However, from a practical approach, which includes most of us (including myself), the enhancement of a JPEG image is just as good for most pictures and can deliver great results.
The Practical Approach
As I said, RAW does have more range, and because of that my personal philosophy is to shoot in RAW (with a jpeg version written out, as well), and to use the jpeg (in the highest quality mode) until I need the RAW. In fact, this blog entry discuss just that point: Keeping it Simple – Using Sagelight with Small Compact Cameras. In this article, I took a sub-compact 12mp (which was really more like 8 max) camera to see what I could do with it — both with JPEG and RAW (through CHDK). In the article, I note that for most pictures I used the jpeg, because I just didn’t need the RAW. On pictures where I was having problems, I moved to the RAW image with very impressive results I couldn’t get from the Jpeg. But, I do want to be careful about that point. In many cases, this has to do with the way the shadows and highlights were clipped in the jpeg. If they’re not there, you can’t work with them, obviously. But, if we’re talking about range-compressed items (which is what we’re talking about), then it can be a different issue.
In the case of the sub-compact camera, I definitely got some great results from the RAW images, but they were needed in only a couple of the pictures I took.
Working with JPEG images. in general, as well as those that have high-contrast areas or are dark (or both)
There are many reasons why you can work very well with jpeg images, not to mention those that have lighting issues. A lot of this has to do with new technology, both in cameras and image editors such as Sagelight Here are the basic issues, which I will discuss about one by one
- Jpeg actually has a lot of range. It’s the compression ratio that becomes the problem.
- The camera processing makes JPEG easier to work with.
- A lot of quality problems come from editors (i.e. 8-bit per-channel), rather than the file itself
- The RAW image needs to be post-processed, which the JPEG inherits for greater quality
- Image sizes are much larger than they used to be.
- With noise-reduction and other tools, some of the quality problems can be solved.
- What you lose with JPEG vs. RAW
Jpeg actually has a lot of range.
It’s the compression ratio that becomes the problem.
It turns out that 8-bits per-channel can get you a long way. After all, we are talking about 24-bits of information for each pixel. Is it as good as 14-bits per-channel that a RAW image might give you, at 64 times the quality? No, definitely not. But, on the other hand, the extra resolution you get from 14-bits or even 16-bits per-channel, while it definitely helps you in certain areas (such as shadows and color noise), for most images it doesn’t matter. Most images do not require very heavy processing. With those that do, there is quite a bit that cane be done with jpeg.
A lot of the problems we see with JPEG are compression blocks. An unfortunate problem with the editing world is that HSL color space is used all over the place for adding color and other functions. This causes a problem with JPEG compression blocks because the way the hue is calculated in HSL space is one of the primary causes for exacerbating jpeg color artifacting. Fortunately, some editors, Sagelight included, use alternate color spaces such as XYZ, LAB, etc. to help avoid these issues. Nevertheless, JPEG blocks cause a lot of luminance noise and color noise that we’re all used to seeing.
A lot of this is historical. A few short years ago, even with the highest quality setting on a camera, even a moderately-complex image (i.e. with tree branches, or details on a mountainside) would become so decimated as to look artificial. This would also cause a lot of jpeg compression blocks. In fact, there were certain camera manufacturers that just couldn’t seem to avoid compression blocks even on their best settings.
Today, however, things are different. By now, it’s clear that if we use the highest quality compression in our digital camera that the quality is much nicer, even if the JPEG file is quite big. A lot of times we see degraded images because people have compressed them for the web, or set their camera to a lower setting to increase its capacity, which can lead us to believe that JPEG, as a general rule, has lower quality than it can actually achieve.
But, if we’re interested in a very high quality picture, using the lowest compression setting (i.e. highest quality) in just about any decent camera made today will yield an image that has a quality that is very high and nearly lossless, at least to the human eye and where artifacting is concerned.
A lot of what we’ve become used to is seeing pictures from just a few years ago, or pictures across the web, when the pictures we edit ourselves today have a lot of quality we may not be aware of.
A Low-to-Medium-Quality Jpeg Example
Here is a random JPEG image I pulled off the web. It’s not too highly compressed, but it’s not the best quality, either:
As you can see, it’s a pretty dark picture.
Here’s what I did to it in Sagelight (fairly easily). As a previously dark picture, a lot of light and color was brought out of it. Here is a bigger version so you can see how nice it really is.
RAW Noise Issues in this Picture
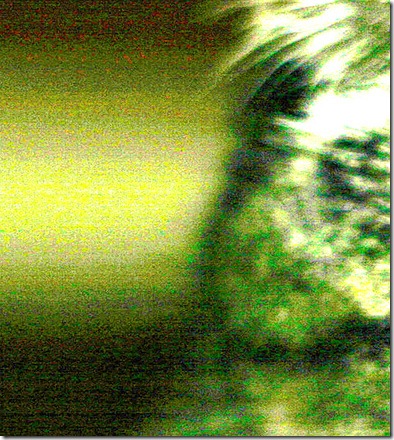
Interestingly, this picture actually had quite a bit of noise. Here it is, brought out for display:
Noise in the jpeg & RAW Noise
It turns out that this noise was from the RAW image (i.e. CCD noise)! JPEG, while lower quality than RAW, does have an ability to keep a lot of quality. It’s only in certain places that it loses it. In this picture, the JPEG, while fairly compressed and lossy, was able to bring out the CCD noise with it.
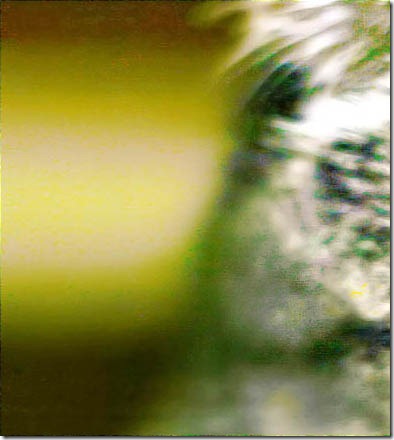
This level of noise, then, needs to be dealt with whether you’re using RAW or JPEG. Here’s is what I was able to do with it inside of Sagelight (with the Image Smoothing tool):
Much better. If you look at the larger picture — the jpeg result from an original jpeg (therefore, compressed at least twice), you can see how smooth it is.
Camera processing makes JPEG easier to work with
RAW processing is getting better and better.
The camera knows itself better than a generic editing program. There is essentially a different RAW format or variation for each camera. This is because the manufacturers know what the CCD for that camera is likely to do and how it responds through the lens. All cameras color-shift in one direction or the other, and this can’t be known by the editing program. Of course, we can use the “As Shot” or “Camera” white balance and other tools to compensate, but is is not the same as what the manufacturers put into the camera based on what that specific CCD is going to do under most circumstances.
This leads to JPEG images that are much easier to work with than the RAW image. Much of the time, RAW editing it is a two-step process. You get it from the camera and then you need to process it a little bit so you can work with it some more. Or, at least, that’s what should be done for better results.
When the JPEG is loaded from the camera, it’s sharpened to the right level for the CCD, corrected for the CCD color variances, the noise is removed based on the typical CCD-noise level, lens distortions are corrected based on the zoom factor, and so-forth and so-forth. The image editor can compensate for some of this as an automatic process, too, but not like the camera can in many cases.
This ultimately results in a picture that is easier to work with from the start. If you’re like me, then it just makes it more fun to edit unless your a purist. I have my purist modes, that’s for sure, but sometimes I just want to get my pictures, add a little light and color, and that’s all I need to do.
With RAW, image editing is a commitment for many pictures that would otherwise be just fine after using just a few controls.
A lot of quality problems come from editors (i.e. 8-bit per-channel), rather than the file itself
This is another historical point that may have inadvertently become a generalized point of view that is now outdated: we’re all used to seeing problems with jpeg images. As mentioned above, one of those issues is a high-compression ratio rather than a low one. Another one of those problems is banding caused by editing. It’s become somewhat of a background concept that if you edit a JPEG that you’re going to experience banding very quickly.
That used to be true. But, with higher quality JPEGs and 16-bit per-channel editors, this is not nearly as true as it used to be. If an editor doesn’t work in 16-bits per-channel at every level, you can see banding occur very quickly. But, this is not a JPEG issue, as you would see this with a RAW image, too. It’s the 8-bit per-channel operations that are more responsible for this than anything else.
Editors Defaulting to 8-bits per-channel
Some editors that support 16-bits per-channel default to 8-bits per-channel (Sagelight does not have an 8-bit-per-channel mode and is in at least 16-bit-per-channel mode at all times). It becomes easy to edit in the default mode, as it is typically faster. With 16-bits per-channel, more memory and horsepower is required. Sometimes banding occurs even in very expensive editors because the mode is set to 8-bits per-channel by default.
Basically, if you’re in a minimum 16-bit per-channel environment from the beginning of the editing process and stay there, the original 8-bit-per-channel JPEG can go a long way. This also means that if you save the image out to work on later that you shouldn’t save it as a jpeg, but a 16-bit-per-channel TIFF or some other format that supports the higher quality, saving out the final image as a JPEG (especially with lower quality settings for the web) in a different file.
The RAW image needs to be post-processed, which the JPEG inherits for greater quality
The higher quality in RAW is not as linear as you might think.
A RAW image in its form in the RAW file or on the memory card doesn’t look anything like the JPEG your camera gives you. As I mentioned above, the camera compensates for a number of things, such as noise, lens distortion, and so-forth.
Another thing that the camera does is adjust for light.
The reason RAW has all that range is because the picture starts off as a very dark picture so the range does not overflow.. For example, let’s take a look at this picture:
This is basically how a picture looks as a RAW image. This is the light level in the RAW picture. When Sagelight (or some other RAW-enabled editor) gets it, there are a number of standard operations that need to occur. Among them is a gamma curve. So, when you see the RAW for the first time, it looks something like this:
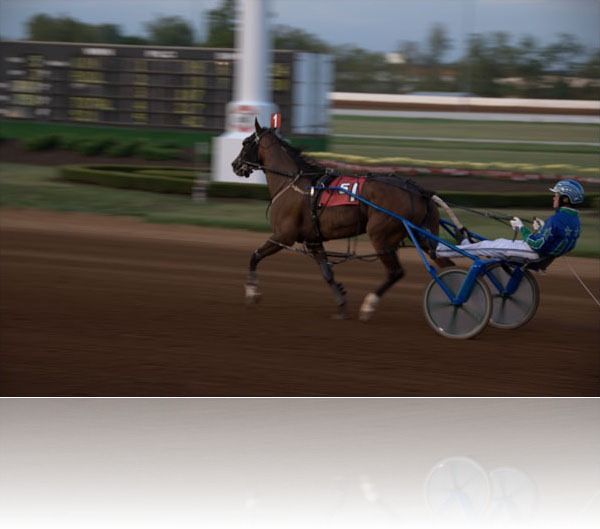
Image after the gamma-curve adjustment: this looks much better, but still not the way you would get it as a Jpeg
RAW Post-Processing
Editors such as Lightroom, Nikon, Sagelight, et. al., post-process the RAW image for some default settings in order to get it to look more like you would get from the JPEG. Here is what the image looks like when Sagelight automatically processes the RAW:
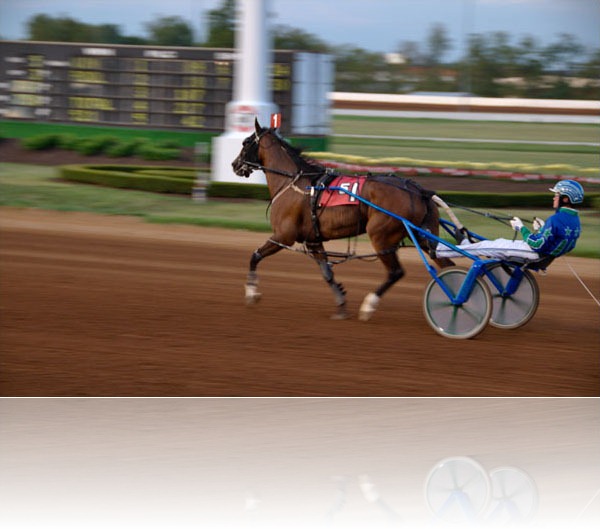
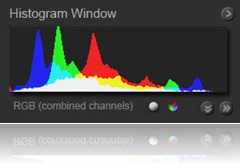
Definitely nicer, and much more like what I would expect to see directly from the camera.
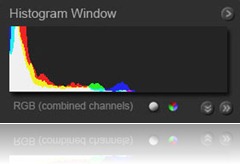
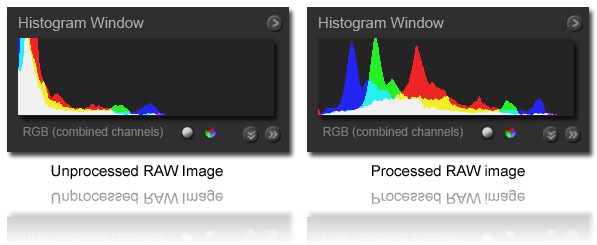
Let’s take another look at the two histograms:
When you get the image from the camera, you get a histogram that looks like the one on the right. Unfortunately, sometimes the camera goes too far and clips the black points and white points in the JPEG (some editors do this as well!), and this is where RAW starts to make more sense. But, for the most part, a good camera will give you a histogram something like the one on the right for the given image.
This means that the RAW has had to go through quite a process just to become presentable.
This stretches the pixels in the image and basically reduces the quality of the image. That is, from a technical perspective, it’s still very high quality, but the main thing to note about this is that the JPEG – as delivered from the camera – inherits this quality because it occurs on the RAW image before its is converted to the JPEG.
Therefore, it is not a 1-to-1 correlation that RAW images are always that much better than JPEG, so much so that you are always losing too much to consider if you edit a JPEG. Don’t get me wrong, RAW will give you more quality, and as I mentioned, I shoot in a dual mode that gives me both the RAW and JPEG on every picture because I do want to edit in RAW when I feel I should. However, in 90%-95% of the pictures from typical cameras, it’s can be easier to deal with the JPEG in an environment that will incur essentially no visible quality loss.
Image sizes are much larger than they used to be
Another reason that editing with JPEG poses less problems vs. RAW than they once did is due to large image sizes. Now that images are in the 10+ megapixel range on the smallest cameras, much more error in an image can occur with no consequences. For example, if you once printed a 1600×1200 image at 8×10, it would not look very good — even if it had no problems to speak of.
Now, with image sizes around 5000×4000, when you print an image at 8×10, that’s roughly 400dpi. The human eye doesn’t really care about much more than 200dpi. This means we have a lot to work with. We can have noise, artifacts, and other errors in our image that are now no longer noticed whether we print the image or post it on the web.
Essentially, when we resize the image by printing or posting, we get a technical quality boost by merging the pixels together to average out the noise. With noise-reduction and other tools, some of the quality problems can be solved
With Noise-Reduction and other tools, some of the quality problems can be solved
You may remember this set of pictures:
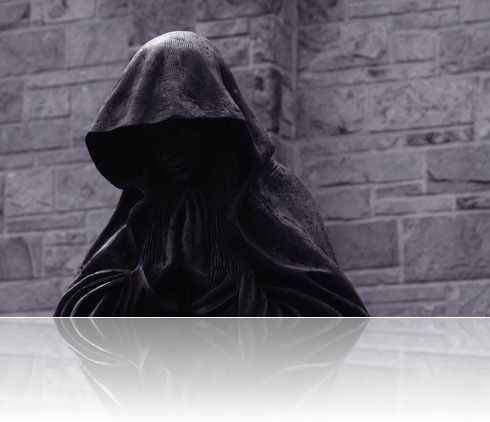
A random JPEG grabbed from the internet (8 bits per-channel)
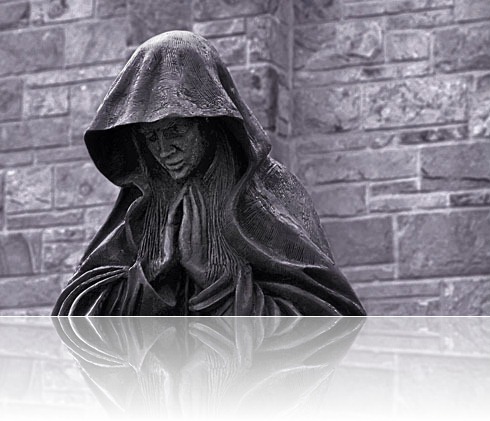
The result from using the LightBlender in Sagelight (a much bigger image for comparison)
If we’re talking about heavy processing of JPEGs — or any image for that matter — it doesn’t get much tougher than this. I don’t think most people realize that a simple jpeg compressed for Flickr could have such quality. I was surprised myself.
This image is a good example of working with a dark JPEG, because I really wanted to darken it when I was done for effect. My result image really didn’t need the quality I was able to get out of it:
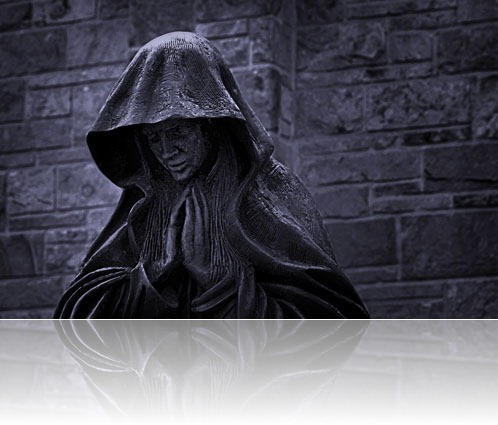
Final Image uses less quality then I needed.
Of course, it was great to get that level of quality out of it in the first place, and it helped me create a moody picture that had the same tonal qualities of the original, but much sharper with high-definition on the statue’s face.
New Technology and Tools
One of the reasons I was able to get this level of quality from a simple JPEG was the technology available in tools these days. In this case, I used the Sagelight Lightblender to help bring out the light, but also other tools like the Image Smoother, Undo Brush, and Dodge and Burn brush to help correct issues are add & subtract tone where I wanted it.
With the tools available today in high-end power editors, you can do much more with JPEGs without requiring the original RAW, but also correct for problems with the JPEG. See the next section for some details.
What you lose with JPEG vs. RAW
As I mentioned, you do get more data from a RAW. There’s no doubt about that, and sometimes it shows. But, as mentioned in the previous section, there is a lot you can compensate for with tools like noise reduction, the Undo Brush, etc.
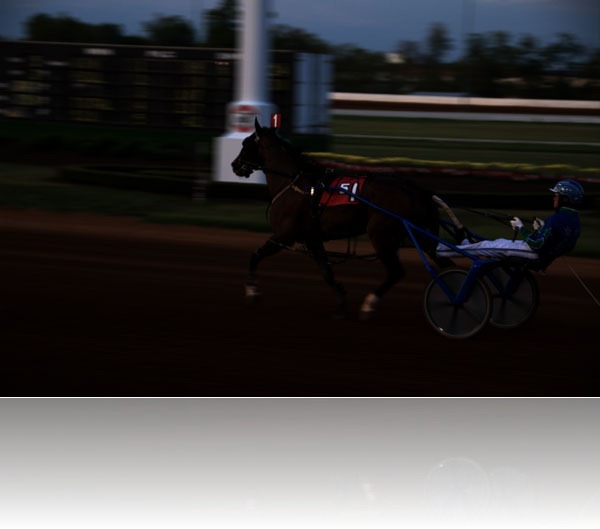
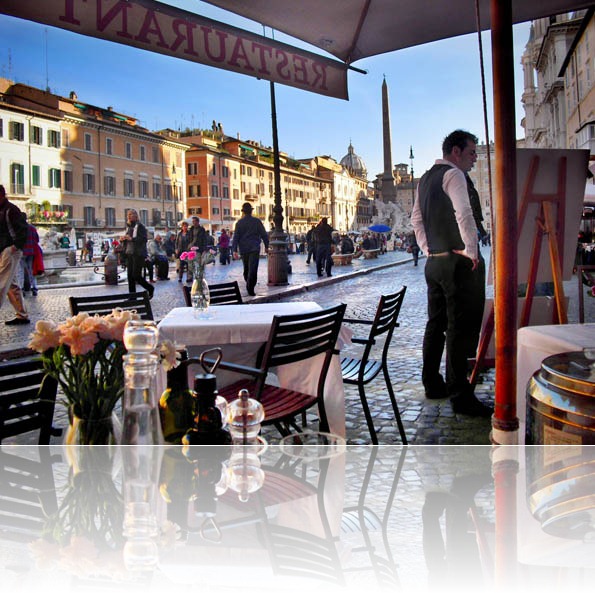
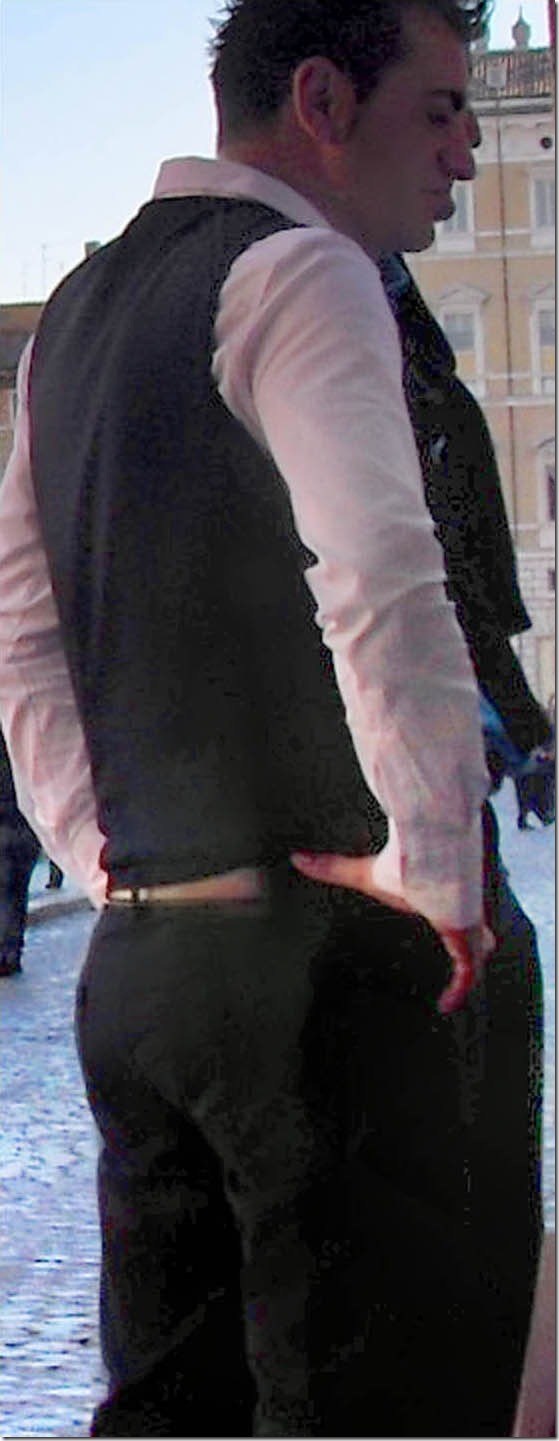
Here is the image uploaded for the original question about how to deal with contrasty images in Sagelight:
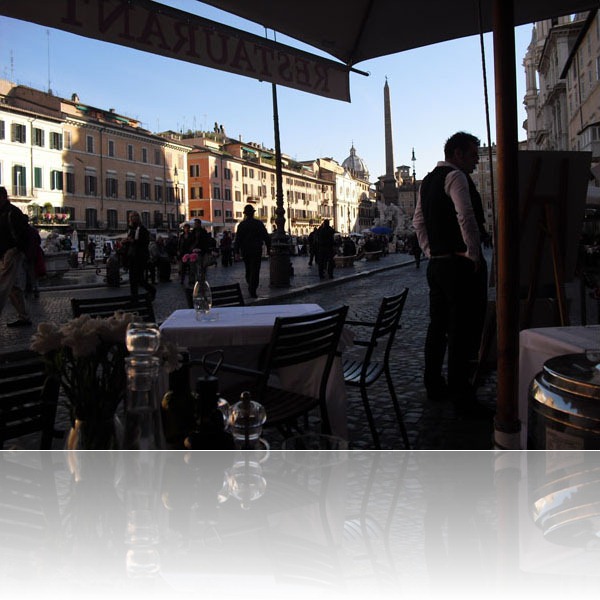
(image credit: Charles McLaughlin)
This does turn out to be a challenging picture from the perspective of bringing out the light as a JPEG. But, from the perspective of bringing up the light, it’s fairly easy:
Noise in JPEG images you don’t see in RAW
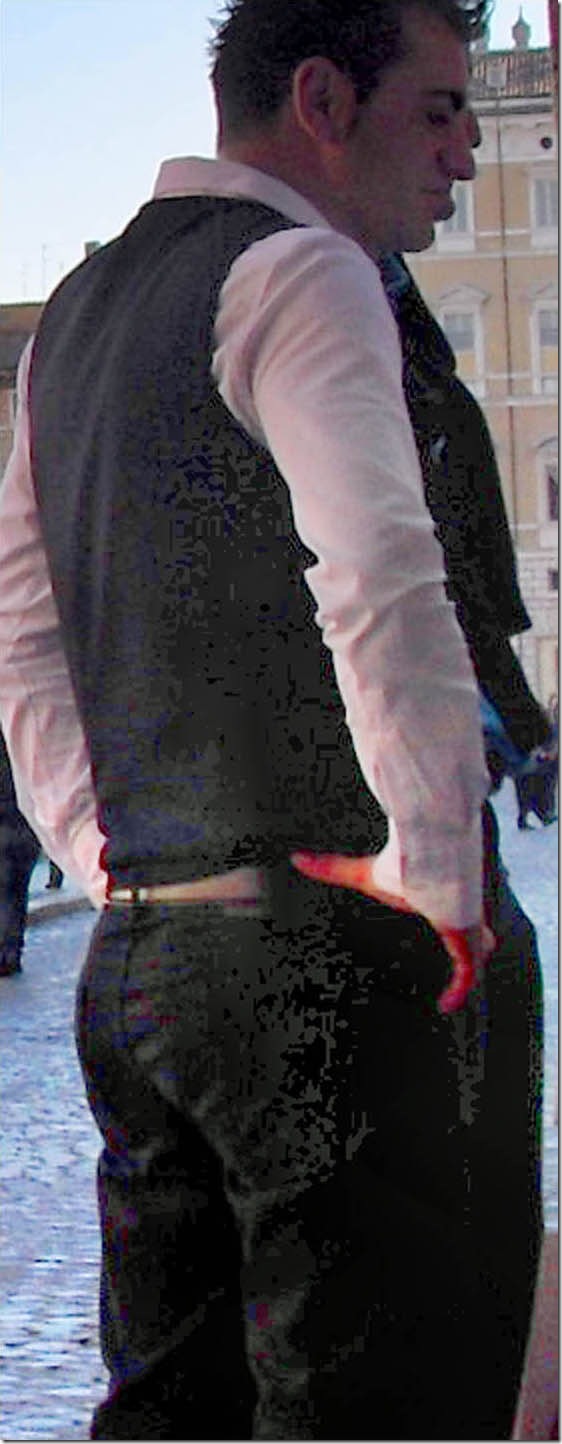
This image certainly has some noise issues associated with data loss at the 8-bit-per-channel level. Here is an example (it has to be big to show the problems & solution):
As you can see, this part of the image, once lightened, shows a lot of image noise and problems. This doesn’t look very good, and if it had been loaded as a RAW image, this noise would probably not exist.
However, there are some ways to deal with it. In Sagelight, you can do the following for the black areas:
1. Use the Median Function. Set a radius that is large enough to get rid of the splotches.
2. Use the Threshold Slider (in “non-traditional mode”) with a setting that just avoids the splotches.
3. Use the Undo Brush to paint in the changes (i.e. start with the original image, and put back in the median changes).
With the Red areas on the hand:
1. Select these areas with the Auto Masking
2. Set a tiny feather.
3. Reduce the Saturation.
4. Bring up the light with the RGB controls, curves, or whatever you’re comfortable with
Here is the result:
Now that looks much better, and if we were to print it or post it, it would never be discernible that this once had such problems. It still has a little noise. I don’t need to worry about what I left behind, because, as you can see from the original picture, this is a 200% closeup of a very large picture: these artifacts will never show. I just needed to take care of the big stuff.
Conclusion
When it comes to working with JPEG instead of RAW, there is plenty of room for getting great results.
From a technical perspective, you can always get a better picture from a RAW image, as it just has more range and more data, especially when it comes to shadows and highlights.
But, from a more practical point of view, and with 90%-95% of the pictures delivered as a JPEG from the camera, between the ease of working with a JPEG automatically adjusted by the camera, and the quality inherent in today’s JPEG compression methods, working with JPEGs instead of RAW offers a lot of advantages.
Since the JPEG is pre-processed from the camera and inherits a lot of processing at the 16-bit-per-channel level, much of the time, the JPEG can be adjusted for small elements like light and color, but also more aggressively for issues such as shadows and highlights.
It is a good move to have the camera write out both RAW and JPEG, even though it may cost space on the memory card, because then you can choose which to work with – defaulting to the JPEG when it doesn’t matter, and then using the RAW when too much data has been lost due to cut shadows or blown-out highlights.
In many cases, as shown above, some of the damaging factors that do sometimes occur due to the JPEG limitations can be corrected, especially with such large file sizes so that the problems can average out more easily when printed or upload to the web.
While RAW is always going to be the more technical and sometimes more aesthetic choice, working with JPEG images tends to be much easier (and sometimes more enjoyable). For most (but, by no means, all) pictures, the quality loss is not enough to keep from getting great images comparable to RAW results, especially in the realm of powerful editors that can help you along the way.
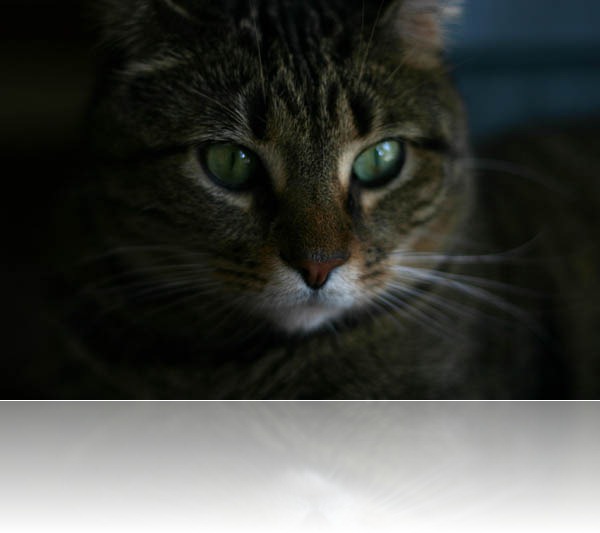
cat image credit: “Merlin Dark” by Mel B

