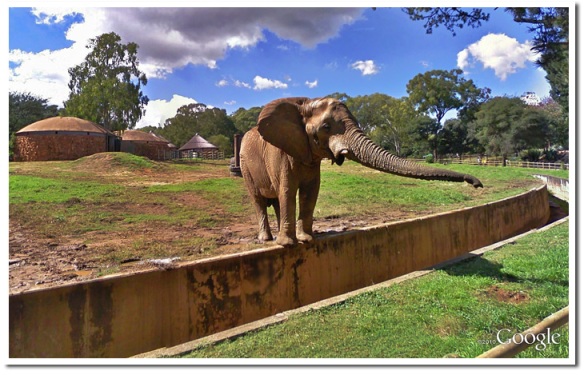
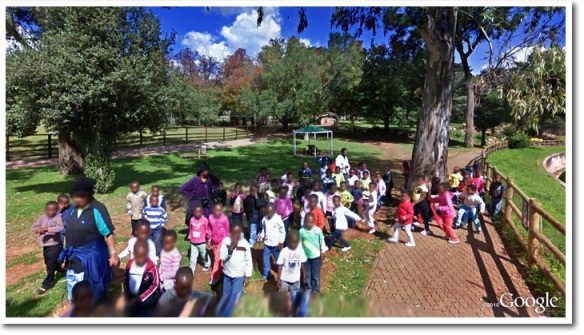
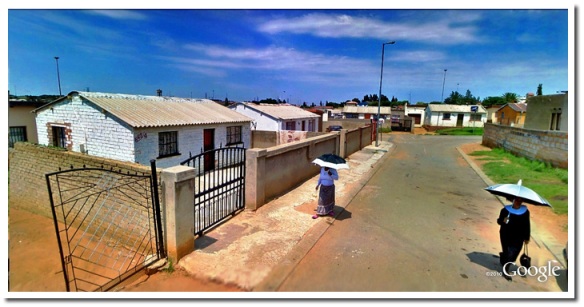
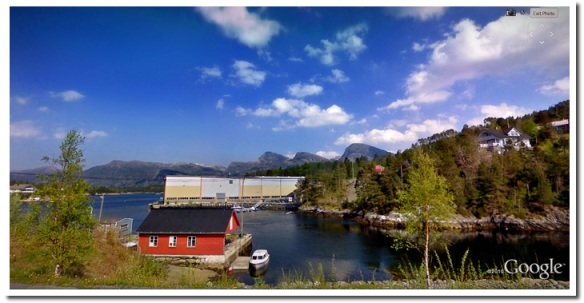
How the changes in digital cameras and image editors can let your artistic creativity shine through your photographs — without knowing anything about digital image editing.
Introduction
A few weeks ago, I showed a friend two pictures. One ‘before’ picture, as it was taken by the camera, and one ‘after’ picture that I had edited to look much nicer.
This new picture was bright, colorful and much more artistic. This picture also turned out to be a picture he took, one that he had sent to me.
This was his response:
“You know, that picture you edited looks great. Now the original picture looks horrible! But, the problem is that before you showed me what I can do with my own pictures, the original looked just fine — I really didn’t see the value in working with pictures until now.”
His response summarized exactly what is going on with the role of image editing today…
The New Age of Digital Image Editing
“With our latest camera, there is now no need for an image editor or specialist skills .”
That’s the basic catch-phrase from the camera manufacturers with their new HDR cameras.
Since I write an image editor for a living, this, at first, seemed like I should feel threatened by such a statement. To the contrary, it’s actually good news.
The reason?
Because the better the image you start with, the more creative you can be with it.
Here is how a lot of pictures used to come back from the typical digital camera, just a few short years a go:

A sometimes-typical digital camera picture just a few years ago
Clearly washed out; the shadows are too deep and the highlights run together. This picture would take a lot of editing just to look like a normal picture — forget going for anything too creative with it. Today, Pictures from the camera with much greater quality than ever before, and this opens up so much more that we can do with them.:

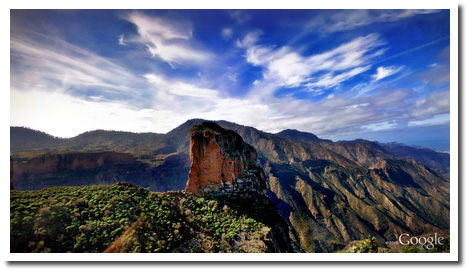
Typical untouched image from today's digital cameras
Now, this is much better! I have a lot of room to express myself because the camera delivered an image that gives me a lot to work with. This level of quality from the gate is what we get to work with more and more with today’s cameras.
What does this mean if I’m not experienced with Image Editing?
It means exactly what the camera companies are saying: There is no need for an image editor or specialist skills.
When you don’t have to worry about just getting your picture to look presentable, this means you can make it look much better than it already is — in fact, your picture that looks pretty good right now will often ultimately look down-right ugly compared to what you can do with just a few steps in a powerful, modern-day and easy-to-use editor.
Some of these editors are free, while others are fairly inexpensive. It used to be that you would have to invest quite a bit of money and time to get into any kind of editing that would yield any decent results.
Photoshop used to be the only powerful editor on the block. But, at $600+ and the need to nearly get a degree in editing just to use it properly, many other alternatives have popped up, even from Adobe themselves.
This means, also, that you can use a lot of free and cheap editors to do fascinating and creative things with your photographs. You can find your artistic vision for what you were looking at at the time (or even through inspiration after you got back home and looked at your pictures days later) and just go with it and end up creating something beautiful.
Finding your Ansel Adams Within
Did you know that Ansel Adams was the first well-known photoshopper? Of course, photoshop didn’t exist at the time. But, he did basically the same things; it was just harder and took more time — a lot harder and a lot more time.
What took him sometimes days to do, we can do in just a few seconds. What he saw in his mind, we can directly experiment with on the digital platform.
We also have one major concept that Ansel Adams did not have at his disposal: The ability to see and undo our mistakes as we make them.
Ansel Adams had to use his creative vision as he used the Dodge and Burn wand over the picture without directly seeing the results. I’m sure he went through many exposures until he found the ‘One’ print that was up to his standards and was what he was seeing artistically.
The great thing for us is that we don’t need to be nearly the visionary he was. We just need to have an ‘idea’ of what we want or what we like. In fact, scratch that. We don’t need to know anything. We can now just ‘go for it’ and see where are mood takes us. Depending on our mood, we can often start with the same exact picture and end up with multiple and equally interesting images that are quite different. While in the editing process, we can pursue what we think is a going to be good idea, and then if it goes outside of our vision, we can just undo what we did (fully or partially) and then continue on and try different directions.
In most cases, for example, when I start off on a picture I don’t have a specific vision. I want to experience the picture and let my artistic sense lead me into things. I like to try new things and see how they work out.
Other times, I do know what I want to do.
Let’s look at a typical black and white picture:

Original Black-and-White Image
Did you know that when Ansel Adams took his pictures (if he took the one above, for example), this is what it looked like until he worked his magic?
Similarly, this is a picture we might get from a digital camera (especially when it’s taken in color and converted to black-and-white — and let’s face it, that is all a digital camera does when you set it into the black-and-white mode; so you might as well just take it in color and convert it to black-and-white on your own terms).
Sure, you don’t need a an image editor with this one. Or, maybe just to crop it. But, if you want to have fun or to be artistic with the picture, it sure helps. Otherwise, you’d have to print it out to a negative and do what Ansel Adams did!
Here is what we can do with it, Ansel Adams’ style, in just about 30-60 seconds:

Ansel Adams-style result created in just a few seconds
You don’t need to be an expert in image editing
The Old Realm of Digital Editing
To get the above picture, you don’t need to be an expert in image editing in any sense. You used to, though, and if you’re using a heavyweight program like Adobe Photoshop, you really still are better off knowing the fundamentals of image editing at a theory level.
Why? Adobe Photoshop (and others like it) are extremely powerful. But this comes at the cost of having every little function in a separate piece of the program. So, to do the above picture, you really need to know the difference between this function and that, and to know that you need to do either a duotone, or some toning with curves; Dodge and Burn; mode shift to the masking to make the vignette, draw the vignette in the mask (and you need to know what you want to do), mode switch back; use curves again to make the vignette while in the mask; dismiss the mask; use layering to so that you can control the dodging and burning. And that’s just for starters. But, at the end of the day, you can get some very amazing results from Photoshop
The New Realm of Digital Editing (it’s much easier)
With new digital editors, things have become much easier. This is because digital editing has been around long enough that the authors and producers of newer digital editors know what people want to do. Also, algorithms, concepts, and how digital cameras capture data better and more consistently than film; these are all things that we now know and can write our programs around.
The result is a lot of power with less effort. Are these editors as powerful as Adobe Photoshop? In general, no. But, they are designed so that you can do 95% of what you’d ever want to do much easier. And, for the most art, many of the things that Photoshop does that you can’t do with some newer editors you don’t want to do without a good knowledge-base. And for the ones you do, this comes at a $600+ price tag! On the other side, some of these newer editors do things that you can’t realistically do in Photoshop, or at least not easily enough to make it worthwhile.
Plus, many people have multiple editors. These people, for example, use Lightroom and Sagelight together; Lightroom for the things Sagelight doesn’t do, and Sagelight for the things Lightroom doesn’t do. This is also true for editors like RawTherapee (which is free and is highly recommended as a free title) or Silky Pix, and so-forth and so-forth.
Each editor has its strengths, but none of them can be all-powerful except for a complex editor like Photoshop where you really need to know what you’re doing.
Besides, unless you want to be very technical, having to be technical to have fun with image editing contradicts the very idea from the start — at least in this field.
Having Fun with Digital Image Editing
That last statement really brings us full circle to the reason for this article: having fun with image editing; making the process fun, taking out the element that was once a laborious task.
Image Editing, in the early days was, indeed, fun. That’s because it was cool and allowed you to do things you didn’t even think about a few years earlier.
Now that the fresh car smell from the realm of digital editing is gone, digital image editing has tended to be thought about in terms of the ‘techy’ or ‘nerd’ or, even worse, the professional or hobbyist that has taken the time to develop the skills to do wonderful things with images — basically, “all the things I’m not and really don’t care to be“.
That’s been a shame, because I think it has obscured the true fun that you can have with modern-day image editors.
Without knowing anything about image editing principles, you can now simply play with the controls and come up with something very interesting with your image in just a few minutes.
That wasn’t really possible before.
It took me a long time to grasp the fundamentals of image editing. That was back when the learning curve was steep — you really couldn’t do too much without taking that curve.
Now, you can learn-as-you-go by looking at what happens to your picture when you do certain things. You don’t have to understand what a ‘gamma curve‘ is any longer or what a ‘histogram‘ is or does.
It helps, of course, to know how to use a histogram — but you don’t need to know in order to edit and enhance your image. Any good editor will give you a histogram, and you can use this to your advantage. But, you can wait until you get some experience. You dont’ need to read a book about it; you can just see how the histogram changes as you move controls and slowly get used to it until you’ve learned about it without realizing.
Unfortunately, it’s impossible to do with you what I did with my friend. I can’t show you an untouched picture that looks perfectly nice and then looks pretty lacking once you see the result. Well, let’s try anyway. Here is a picture that looks pretty decent all by itself. I’ll put the result-image at the end of the article, and we can see how that works.
A perfectly fine original picture:

- A perfectly-fine picture, or so it seems
Digital Image Editing, because it can yield such impressive results, is not as hard as it looks. Doing simple editing can sometimes return impressive results in just a couple steps:

Simple Before and After Example that took just a few seconds. It might look hard, but it was actually pretty easily done with two slider movements
Eventually you’ll get it. But, until then, you can just have fun with image editing.
Free and Cheap Digital Image Editors
The best news about all of this is that you don’t have to spend any money to start enhancing your images.
There are many free editors out there, as well as cheap ones.
Here is a list of recommended free editors
1. Picasa
Picasa is extremely easy to use. It is not very powerful, but it is very straightforward. It is somewhat hit-or-miss; you’ll either make your picture better or you won’t.
But, if you’re new to digital image editing, you might be surprised about what simple balancing your image and adding some saturation will do.
It can be found at: picasa.google.com
2. Lightbox Free Image Editor
This free editor has a very fast real-time response engine and some powerful functions. It is a free version of Sagelight 2.0 (originally called Lightbox 2.0).
It offers advanced auto-balance routines and a very good interface so you can see before/after version of your image next to each other or overlayed.
It also has a great fill light feature that analyzes your image and only fills in the shadows, saving the highlights from washing out.
This is our editor, and it is highly rated across the Internet as a good free editor.
It can be found at: www.sagelighteditor.com
3. Fast Stone Image Viewer
I’ve always liked this editor as a free image editor. It does a lot, and it’s pretty fast.
It can be found at: www.faststone.org
4. Photoscape
This is also a nice free editor.
It can be found at: www.photoscape.org
5. Raw Therapee
If you’re into RAW files, Raw Therapee is a great free choice. It doesn’t technically belong in this list, but it is pretty good and is recommended.
It can be found at www.rawtherapee.com
Cheap Editors Great for Beginners and Hobbyists
1. Sagelight Image Editor
Of course, this is our pick, because this is the reason we wrote Sagelight. Sagelight is very fast, giving realtime feedback and has over 70 unique, powerful functions. It is often compared to Adobe Elements and Adobe Lightroom. It’s great for both beginners and hobbyists.
See some examples at streetview.sagelighteditor.com or www.sagelighteditor.com/mexample.html
It can be found at: www.sagelighteditor.com
2. Helicon Filter
Helicon Filter is great for beginners, too. It will lead you through the process of editing your picture. Some people like this style quite a bit.
It can be found at: www.heliconsoft.com
3. Paintshop Pro
This is a fairly cheap editor, around $40 or so. The price varies, so it might be more expensive.
It has a lot of functions and is a ‘general’ editor of sorts.
It can be found at: www.corel.com
4. Adobe Elements
This costs around $80, and is a well-known editor. It can be very useful for beginners, but can also be complicated. It has a lot of filters and effects, so can be a good choice.
It can be found at: www.adobe.com
Conclusion
The statement “You don’t need an image editor anymore” is becoming more true as time goes by and digital cameras become more advanced. But, the corollary is that image editors have become more and more compelling for image enhancement and much easier to use in the process. This is also because the untouched images from the camera are much higher quality than they used to be, which means we can do even more with them.
Now we can look at images from the viewpoint of expressing or own creativity and artistry without the formidable learning-curve and labor-intensive processes. Modern-day image editors make this possible with easy-to-use functionality, low-cost (sometimes free), and low learning-curve.
At one time, doing even simple edits use to be in the realm of the serious hobbyist and professionals, requiring a high level of knowledge about image processing principles. While gaining that knowledge over time can help you with your images, performing powerful yet simple expressions through digital image editing is now fairly easy.
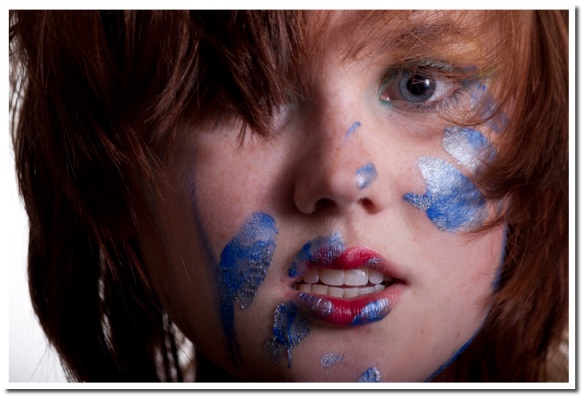
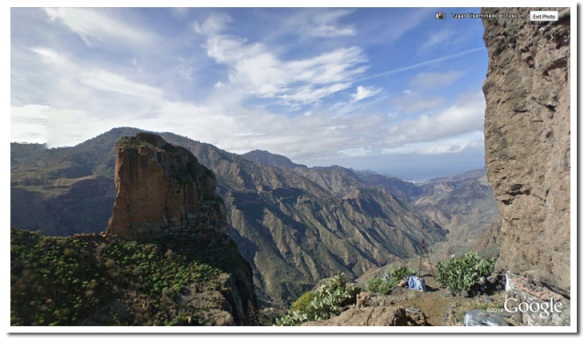
As you grow with your experience, going from this image:

Untouched Image
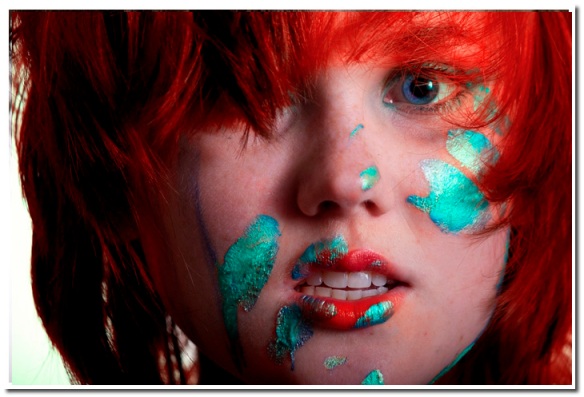
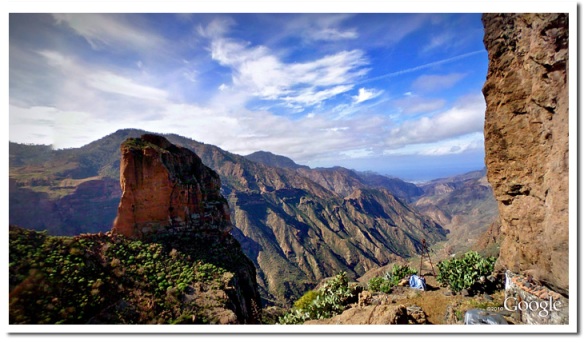
to this image:

Image Edited with Sagelight Image Editor
is no longer in the realm of the experts, and is actually pretty easy. Want proof?
Here’s a video of it being done through the use of a powerful but simple tool in Sagelight Image Editor:
P.S. (The Lighthouse Result)
Here are the two lighthouse pictures together. What looked perfectly fine before might look a little lacking now.

Original Lighthouse Picture (actually I increased the brightness from the original, just to be fair)

Image Edited in Sagelight Editor (the new image is much more crisp, sharp, focused, and has a lot of contrast but not at the expense of the highlights)

